Moving from shared hosting to cloud hosting can be a big step for your website. As your site gets more visitors, you might need something stronger than shared hosting.
If you want to buy web hosting, Cloud hosting can be a great choice. Let’s look at how to make this move smoothly.
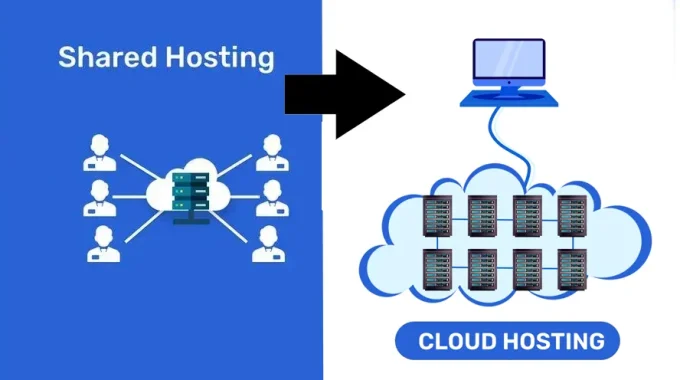
What is Cloud Hosting?
Cloud hosting is different from shared hosting. In shared hosting, many websites use one server. But with cloud hosting, your website uses many connected servers. This setup has lots of good points.
Why Choose Cloud Server Hosting?
Cloud server hosting has some great benefits:
- Better Performance: Your website stays fast, even when lots of people visit at once.
- Easy to Grow: You can get more resources when you need them.
- Stays Up More: If one server has problems, others keep your site running.
- Safer: Cloud hosting providers use strong security to protect your site.
- Pay for What You Use: Many cloud hosting plans let you pay only for what you need.
How to Move to Cloud Hosting?
- Pick a Cloud Hosting Provider: Look for a good cloud hosting provider. Make sure they’re reliable and have good customer support.
- Save Your Website: Before you move, save all your website files and information. This is very important to keep your data safe.
- Set Up Your Cloud Server: Once you choose a provider, set up your new cloud server. Pick your settings and get it ready.
- Move Your Website Files: Use special tools to move your files from shared hosting to your new cloud server. Make sure you move everything.
- Move Your Database: Take your database from shared hosting and put it on your cloud server. Update your website to use the new database.
- Set Up Your Cloud Server: Install the programs you need on your cloud server, like web servers and databases.
- Test Your Website: Before you make the final switch, make sure your website works properly on the cloud server by testing it carefully. Look for any problems, such as lost links or pictures that aren’t there.
- Update DNS Settings: Once you’re satisfied with the test results, change the DNS settings for your domain to point to the new cloud server. Keep in mind that DNS propagation can take up to 48 hours to finish.
- Monitor and Optimize: After the migration, closely monitor your website’s performance on the cloud server. Make any necessary optimizations to ensure it runs smoothly in the new environment.
Best Practices for a Successful Migration
- Make a plan: Make a thorough transfer plan and schedule to keep downtime to a minimum.
- Communicate with your Users: Let the people who visit your website know about the upcoming transfer and any possible short-term problems.
- Get Professional Help: If you’re not sure of your skills, you might want to hire someone to help you with the move.
- Keep your old hosting: Keep your shared hosting account up and running for a short time after the move to make sure everything goes smoothly.
- Update your safety measures: Use the protection features that come with your cloud service and add more if you need to.
Conclusion
Moving to cloud hosting offers numerous benefits. Cloud hosting benefits include improved website performance, increased visitor capacity, and enhanced uptime.
By following these steps, you can transition to cloud hosting smoothly, maximizing these advantages for your site.
Remember to pick a good cloud hosting provider and test everything before you finish the move. With careful planning, your website will be ready to grow on its new cloud server.

